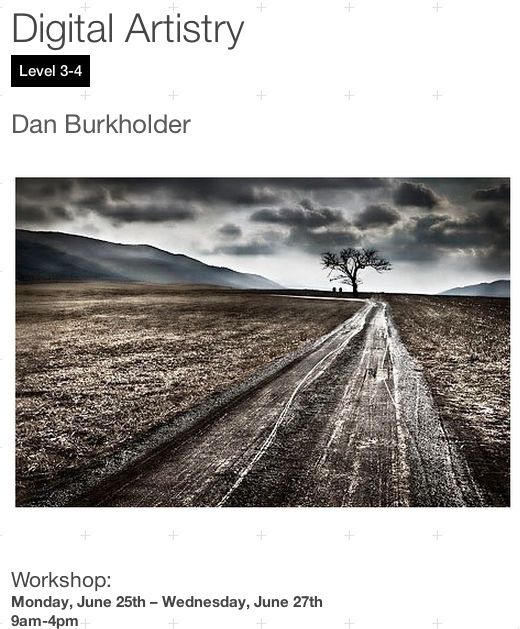
Today I finished the 2nd of a 3-day photography class on Digital Artistry. I'm learning SO much. My brain is overflowing. It's amazing what you can do with Photoshop. I already knew this of course, but the photographer who teaches this class, Dan Burkholder, really takes it to the next level.
This is the class I'm taking:


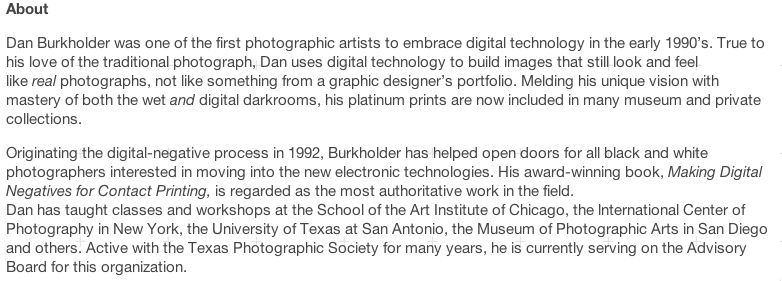
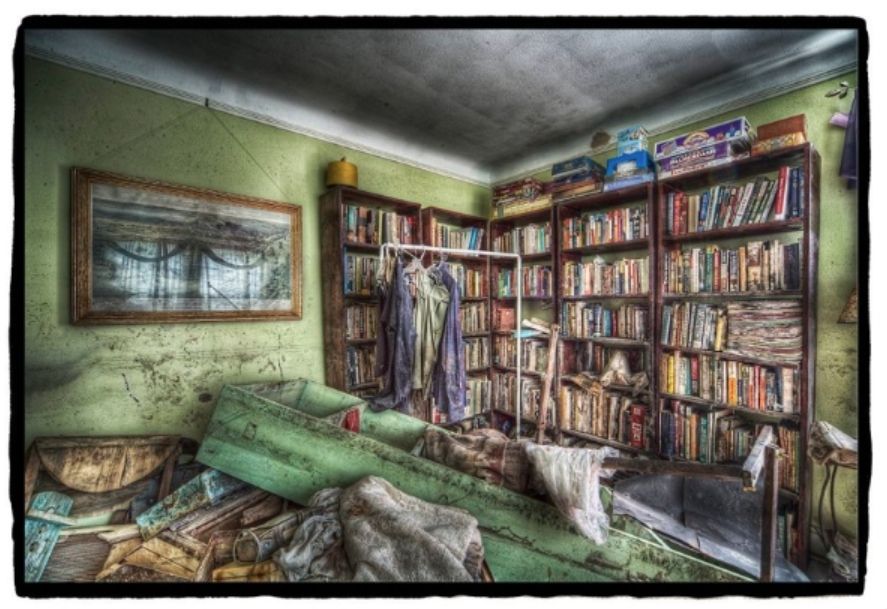
And about Dan:

Dan is an old school photographer who was one of the first film photographers to embrace digital shooting. He wrote a book about it, Making Digital Negatives for Contact Printing, back in 1999. He has published a recent book on the photos he took after the massive flooding in New Orleans. All the photos were interiors taken in very dark places with little light. He used no flash - by doing HDR. HDR always has a bit of a non-realistic feel to it due to the nature of what it is. You can actuate that non-real feel or keep it toned down a bit. Dan chose to accentuate it in his New Orleans photos. Here are a couple samples. These are real photos taken in abandoned buildings in New Orleans shortly before they were demolished.


Today was the only day we did any shooting as the class is about using Photoshop to enhance your work. Much like you would have done in darkrooms pre DSLR days.
To maximize the amount of time we would get with Dan showing us his techniques and tricks, we stayed in the studio and shot multiple exposures using a tripod. I've included some samples below. These are not complete (see: brain overflowing above).

above :: here are 14 exposures of the same shot that were used for one of the HDR photos below (I can't recall which.)
All of these were taken on a tripod, no flash, ISO 100, f/22.
I used a remote shutter control and also locked the mirror in the upright position to minimize camera shake. I was using a Canon 7D with the 24-70mm f/2.8L M1 lens. As there is no IS on that lens, I didn't have to shut it off (you shut off IS for HDR exposures. I also used manual focus as auto-focus is not appropriate for HDR. Long exposure noise reduction was also turned on to minimize chromatic noise on the extreme exposures.
Using f/22 was a mistake, I should have done f/10 or 11, I ended up with flare in the end HDR photos which I had to clean up manually and likely would not have occurred as much at a mid-range f-stop. Plus sharpness suffers a bit a such a stopped down aperture. I had thought I had set f/11, but while working on other settings I must have moved it and did not notice.
The first exposure (the darkest on the lower right corner) was a 1/200 of a sec. For each successive exposure I increased the shutter speed by 1 stop. So the 14 exposure speeds were 1/200, 1/100, 1/50, 1/25, 1/13, 1/6, 0.3, 0.6, 1.3 secs, 2.5 secs, 5 secs, 10 secs, 20 secs, and finally 30 secs.
Below are the lightest (30 secs) and darkest exposures (1/200 sec):

above :: In the darkest exposure you can only see the darkest details in the window at the end of the hall. In the lightest exposure you can see the details in the foreground wall and photos. You can also see the multiple lens flares caused by the extremely bright light from the window shining right into my lens.
Below are three HDR photos that were merged from all the exposures. These are HDRs from three different series of exposures. They are my 1st, 2nd, and 3rd attempts, so you can see the progression of my working with all the HDR settings to get a photo that is a little more realistic. I only spent about 15 min for each of these. You could spend a lot longer to get much better results.
Again, it's totally artistic interpretation about how unrealistic you make your end HDR photo. The first two are obviously more along the unrealistic, more drawing/painting type of results. I like all of them (baring the refining work I didn't do to clean them up.)
These are just screen prints as I didn't want to go through the hassle of converting to jpg at this time. But you could still click to enlarge - just don't expect high-resolution details to show up.

above :: This was my first attempt. I've played a bit with HDR before, but only with three exposures. This was my first time with so many exposures and with trying to set up the shot the recommended way. I really exaggerated the unrealistic effects on this one - on purpose. I also bumped up the saturation quite a bit since I figured this was unrealistic anyway. You can see all the little lens flare artifacts on the foreground wall. I do like the result overall. Even if it would require a lot of clean up should I decide to do one this unrealistic.

above :: One this one I was working to get the best possible result on the clouds in the bright sky in the window. Doing so only by using the limited HDR adjustments I had available to me caused the image to turn more unrealistic.I did spend a couple minutes removing all the lens flare from the foreground wall. Overall this was a much cleaner result.

above :: My final HDR merge just before class ended. I did not clean up the lens flare on this version, but the HDR techniques I used minimized them a bit, so clean up would be less. I also used curve adjustment masks after the HDR techniques to control the brightness of the foreground and the shadows of the hallway. That helped to minimize the unrealistic HDR effects that I had in the second attempt where I used only HDR to control brightness and shadows.
.
Way too much detail I know. But this is for my reference later as well.
Tomorrow we will delve deeper into Photoshop techniques - so excited.
.
This is the class I'm taking:

And about Dan:
Dan is an old school photographer who was one of the first film photographers to embrace digital shooting. He wrote a book about it, Making Digital Negatives for Contact Printing, back in 1999. He has published a recent book on the photos he took after the massive flooding in New Orleans. All the photos were interiors taken in very dark places with little light. He used no flash - by doing HDR. HDR always has a bit of a non-realistic feel to it due to the nature of what it is. You can actuate that non-real feel or keep it toned down a bit. Dan chose to accentuate it in his New Orleans photos. Here are a couple samples. These are real photos taken in abandoned buildings in New Orleans shortly before they were demolished.
Today was the only day we did any shooting as the class is about using Photoshop to enhance your work. Much like you would have done in darkrooms pre DSLR days.
To maximize the amount of time we would get with Dan showing us his techniques and tricks, we stayed in the studio and shot multiple exposures using a tripod. I've included some samples below. These are not complete (see: brain overflowing above).
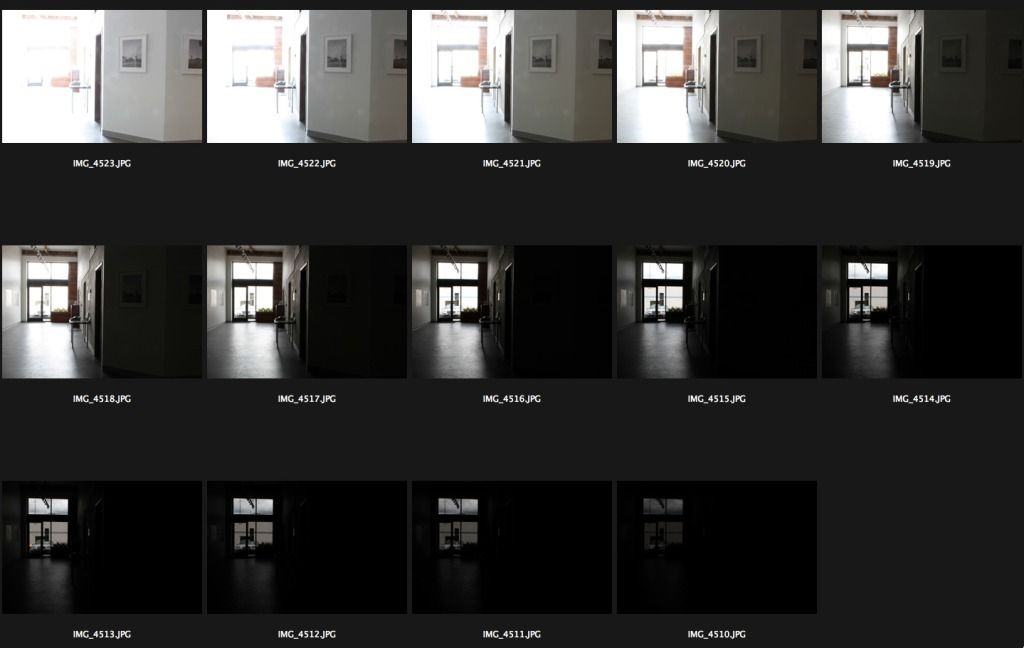
above :: here are 14 exposures of the same shot that were used for one of the HDR photos below (I can't recall which.)
All of these were taken on a tripod, no flash, ISO 100, f/22.
I used a remote shutter control and also locked the mirror in the upright position to minimize camera shake. I was using a Canon 7D with the 24-70mm f/2.8L M1 lens. As there is no IS on that lens, I didn't have to shut it off (you shut off IS for HDR exposures. I also used manual focus as auto-focus is not appropriate for HDR. Long exposure noise reduction was also turned on to minimize chromatic noise on the extreme exposures.
Using f/22 was a mistake, I should have done f/10 or 11, I ended up with flare in the end HDR photos which I had to clean up manually and likely would not have occurred as much at a mid-range f-stop. Plus sharpness suffers a bit a such a stopped down aperture. I had thought I had set f/11, but while working on other settings I must have moved it and did not notice.
The first exposure (the darkest on the lower right corner) was a 1/200 of a sec. For each successive exposure I increased the shutter speed by 1 stop. So the 14 exposure speeds were 1/200, 1/100, 1/50, 1/25, 1/13, 1/6, 0.3, 0.6, 1.3 secs, 2.5 secs, 5 secs, 10 secs, 20 secs, and finally 30 secs.
Below are the lightest (30 secs) and darkest exposures (1/200 sec):

above :: In the darkest exposure you can only see the darkest details in the window at the end of the hall. In the lightest exposure you can see the details in the foreground wall and photos. You can also see the multiple lens flares caused by the extremely bright light from the window shining right into my lens.
Below are three HDR photos that were merged from all the exposures. These are HDRs from three different series of exposures. They are my 1st, 2nd, and 3rd attempts, so you can see the progression of my working with all the HDR settings to get a photo that is a little more realistic. I only spent about 15 min for each of these. You could spend a lot longer to get much better results.
Again, it's totally artistic interpretation about how unrealistic you make your end HDR photo. The first two are obviously more along the unrealistic, more drawing/painting type of results. I like all of them (baring the refining work I didn't do to clean them up.)
These are just screen prints as I didn't want to go through the hassle of converting to jpg at this time. But you could still click to enlarge - just don't expect high-resolution details to show up.
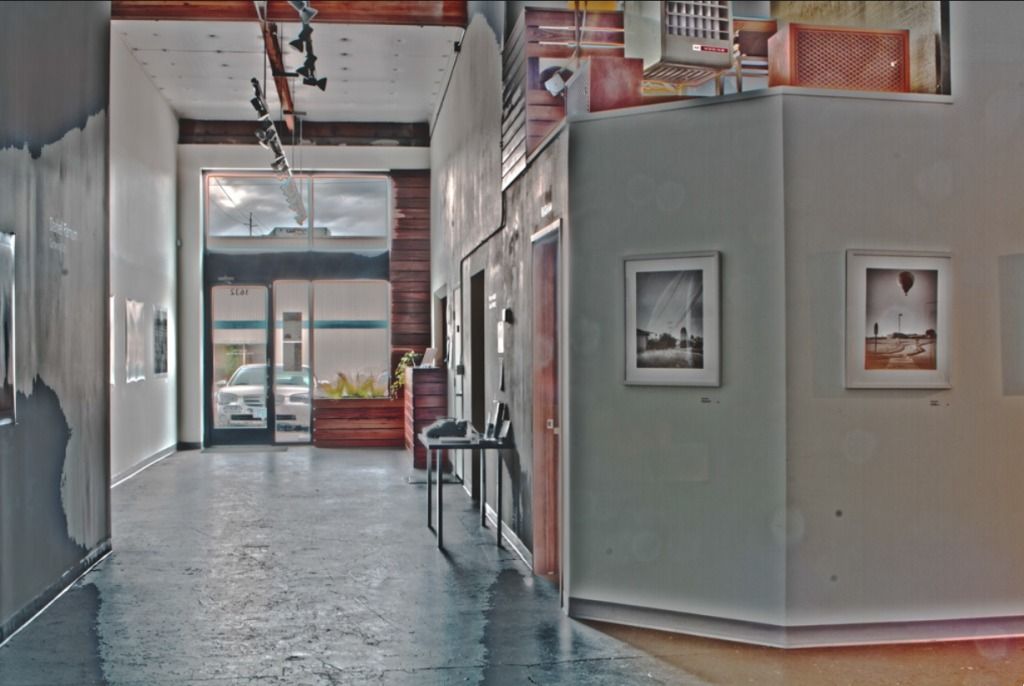
above :: This was my first attempt. I've played a bit with HDR before, but only with three exposures. This was my first time with so many exposures and with trying to set up the shot the recommended way. I really exaggerated the unrealistic effects on this one - on purpose. I also bumped up the saturation quite a bit since I figured this was unrealistic anyway. You can see all the little lens flare artifacts on the foreground wall. I do like the result overall. Even if it would require a lot of clean up should I decide to do one this unrealistic.

above :: One this one I was working to get the best possible result on the clouds in the bright sky in the window. Doing so only by using the limited HDR adjustments I had available to me caused the image to turn more unrealistic.
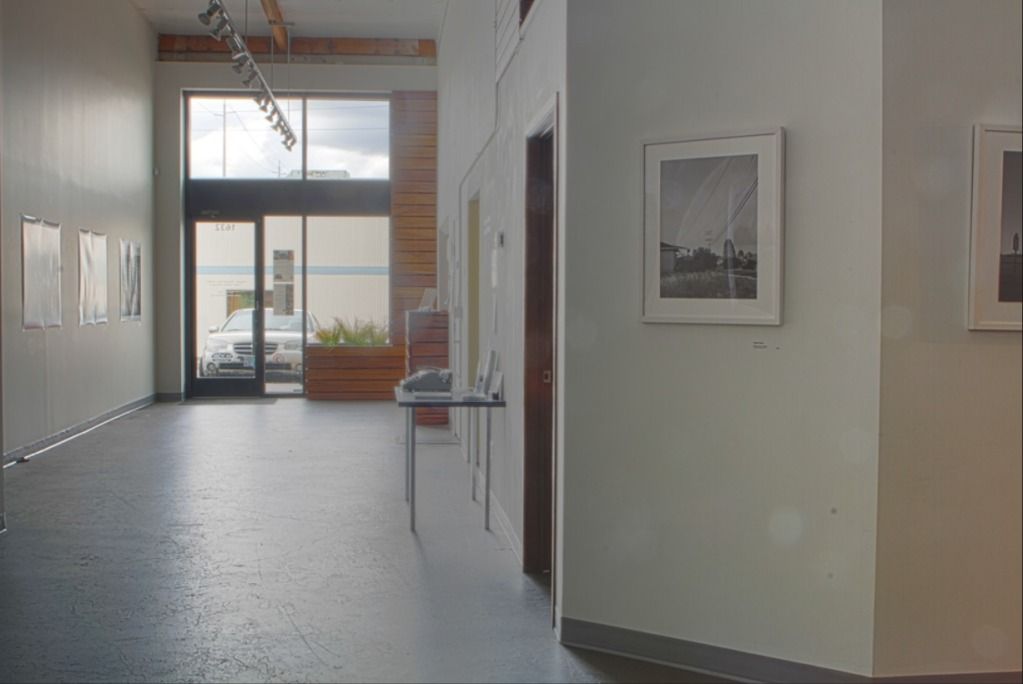
above :: My final HDR merge just before class ended. I did not clean up the lens flare on this version, but the HDR techniques I used minimized them a bit, so clean up would be less. I also used curve adjustment masks after the HDR techniques to control the brightness of the foreground and the shadows of the hallway. That helped to minimize the unrealistic HDR effects that I had in the second attempt where I used only HDR to control brightness and shadows.
.
Way too much detail I know. But this is for my reference later as well.
Tomorrow we will delve deeper into Photoshop techniques - so excited.
.